How to View Emergency Medical ID from the Lock Screen
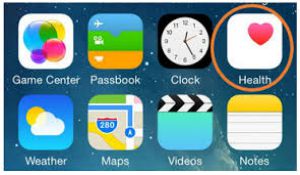
Apple's built in health app includes something called the Emergency Medical ID. This allows you to store all your important medical information so that it’s immediately available by one-tap access. Medical ID was designed to be useful during emergencies as a possible life-saving feature. Therefore ensure the info on the device is accurate.
Image courtesy of: tech-recipes
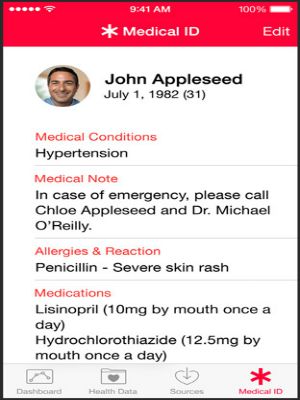
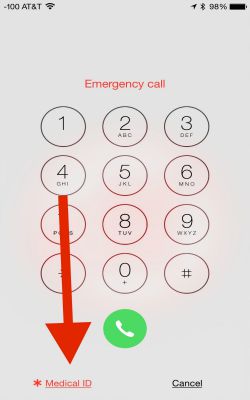
Tap the Medical ID icon to access details for medical conditions, allergies, notes etc. It is recommended that you mention emergency contacts in case of medical emergencies.
Image courtesy of: igeeksblog

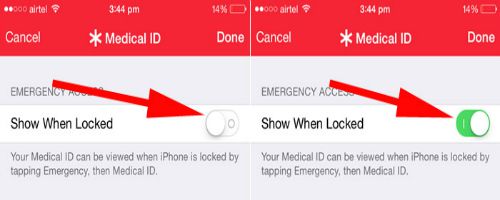
You might also want to enable the Show When Locked switch. Enabling this means your medical ID info will be visible even without unlocking the lockscreen which is useful in case of emergencies.
Image courtesy of: igeeksblog
When the device is locked swipe the screen to the left. The phone will ask for the passcode.
Image courtesy of: tech-recipes
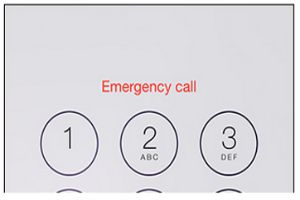
Image courtesy of: tech-recipes
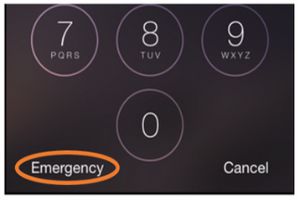
Image courtesy of: igeeksblog
Medical ID will now be shown with the details that you have provided.
Image courtesy of: padgadget