


Enable 2 step verification for iCloud using Apple ID
When using their Apple ID most people have saved private information and credit cards connected to that ID. If you would like more protection than just simply your password you can set up a 2 step verification. You will need a trusted device like your phone so that they can send you a code when you attempt to log in using your Apple ID. Follow these steps to set this up on your account.
First go to appleid.apple.com and sign in to your account using your current password.

Next click on Password and Security on the left hand side of the page.
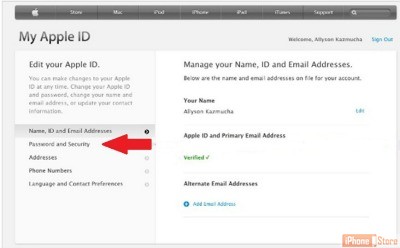
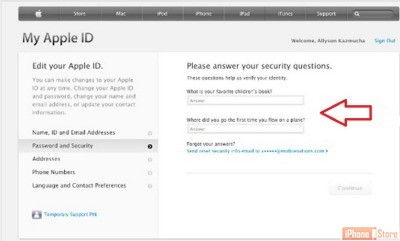

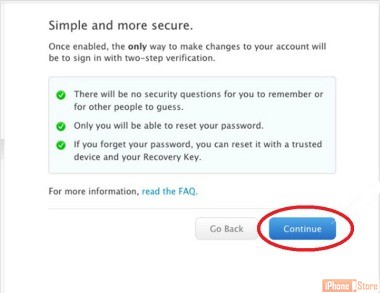
Image courtesy of: [webcentral.com]
Images courtesy of: Allyson Kazmucha

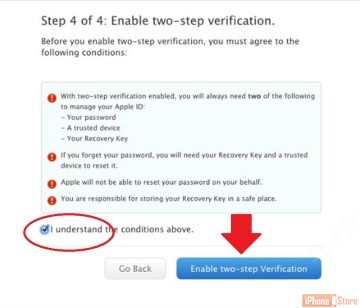
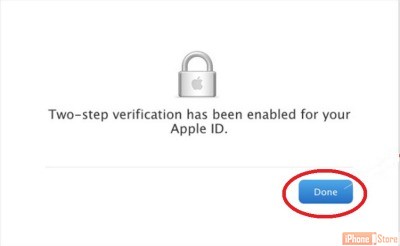
Almost done! On the next screen click the Checkbox to show you understand what information will be needed for the 2 Step Verification process if you forget your password in the future. Now click the Enable Two-Step Verification button to continue.

Image courtesy of: [webcentral.com]

For more information click the links below:
1. http://support.apple.com/en-us/HT204152
2. http://support.apple.com/kb/PH14668?viewlocale=en_US
3. http://www.dailymail.co.uk/sciencetech/article-2759293/Apple-beefs-iCloud-s-security-Two-step-verification-adds-extra-layer-security-phone-ups.html