


Add Music to iTunes from your Saved Files and CDs
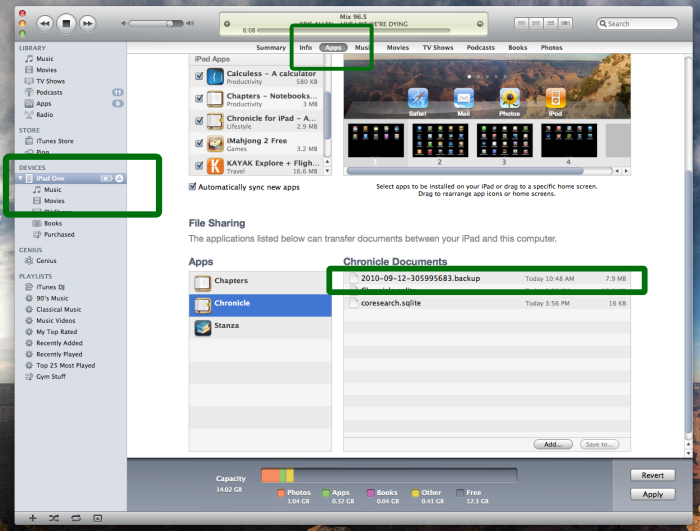
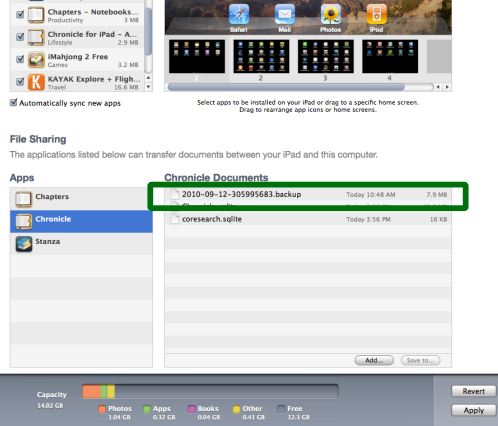
Step 1 – Backup the Files
Before you start, create a new backup for the files in your music library before making any changes, so that you will have an easier time in case anything goes wrong.
Image courtesy of: slidetorock
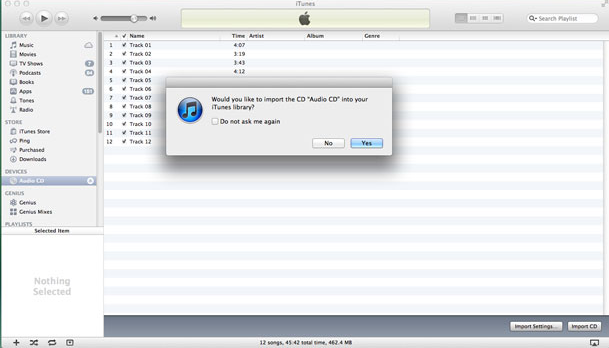
Step 2 - Open iTunes and Insert the CD
Open iTunes and the storage device. iTunes will prompt you to import the music files. Select ‘Yes’.
Image courtesy of: everythingcafe
Step 3 – Select Current Storage Location of Media
On the top-left side of the iTunes window, choose from the storage locations available. For instance, if you are uploading from a CD, choose ‘Audio CD’
Image courtesy of: technipages
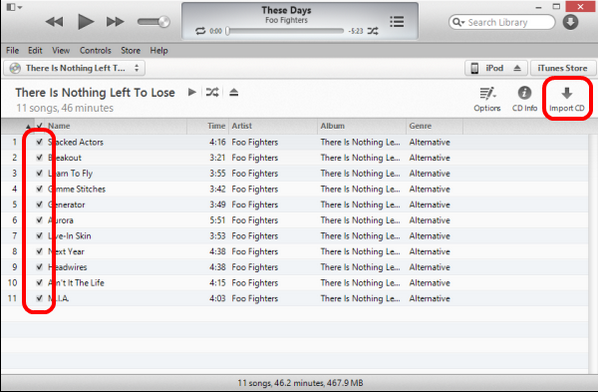
Step 4 – Choose What to Upload
Check all the boxes of the items that you wish to upload. When done, click on the part written ‘Import CD’.
Image courtesy of: technipages
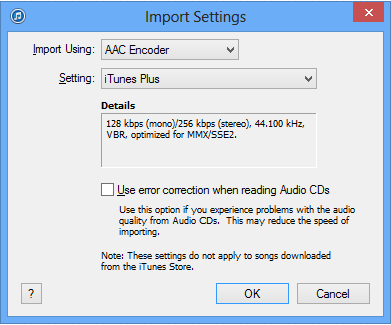
Step 5 - Choose Preferred Encoding for Your Music
Choose the suitable option for importing the music , from either the AAC encoder or the MP3 option. Select ‘OK’ when done.
Image courtesy of: technipages
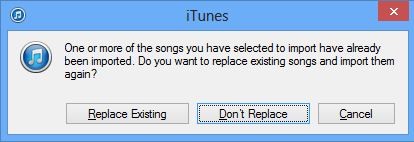
Step 6 – Overwrite or Rename
If you have identical files in both storage locations, you will get a prompt asking you whether to replace or not. Choose the better option for you.
Image courtesy of: technipages
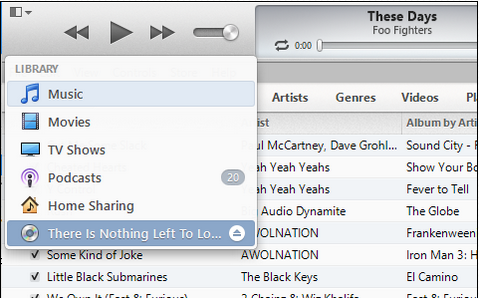
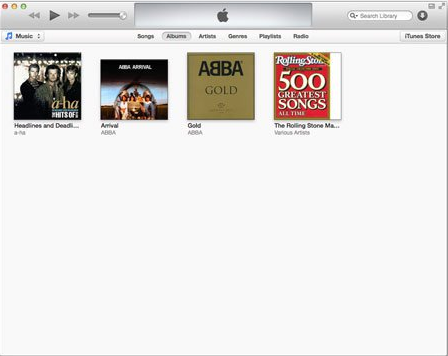
Step 7 – Completing the Upload
You may have to wait for some time as the music is transferred to iTunes. On completion, you can get the album on all your other iOS by dragging it from iTunes Library and dropping on the desired selection, as shown.
Image courtesy of: macworld
Check out these cool links
Download This Board Now