


Import Screenshots to Windows 8
If you are confused about how to import photos from your Apple iPhone to your Windows PC here is a quick how-to to give you some clarity. It will show you how to quickly and easily transfer and use those photos without the hassle of emailing each photo to yourself.
Connect your iPhone to your desktop using appropriate USB cables. Note you may have to install the driver if you have never connected this device before
Image courtesy of: Mobile Fun

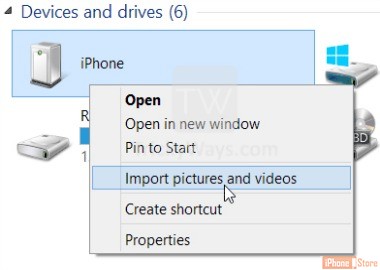
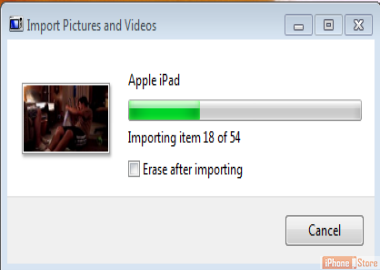
Now you will want to look under Devices and Drives on your PC, right-click on the iPhone device, and select the option to Import Pictures and Videos
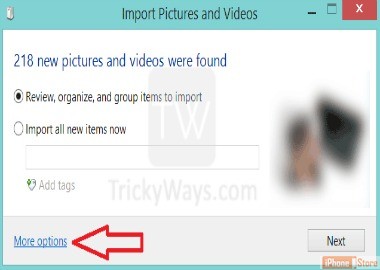
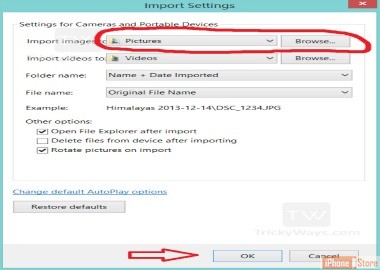
Before you import your photos you may want to decide on the folders you would like your photos to end up in. To do this, you will click the More Options link which will bring up your Import Settings.

Import photos and videos from iPhone to Mac or PC
Import Photos from iPhone to PC
Transfer Pictures from iPhone to PC