Overview

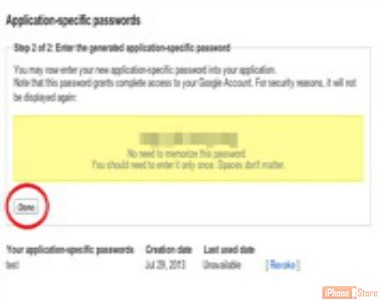
With hacking becoming a very real issue lately and showing up in the news associated with public figures it is always a good idea to have double security setup for you accounts. Setting up a 2 step verification process for your google account is a good way to keep your information safe. In order to make this active on your iOS device you will also have to set up a separate password for each device you want to include in the 2 step verification. Follow the steps below to set up a 2 step verification for your google account and then set up a separate password for your devices.

Step 1
First start by going to your google account and logging in.
Image courtesy of: Googlo
Step 2

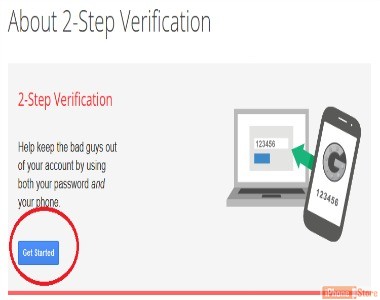
Now on the 2 step verification settings page click on the 'Start Setup' or 'Get Started' button.

Image courtesy of: John E Dunn
Step 3

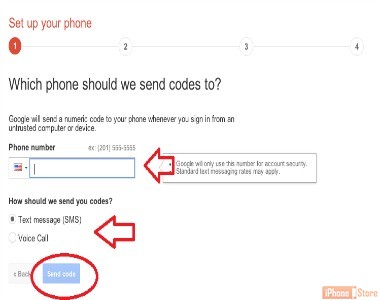
Next enter the phone number you want to receive the verification code at and choose whether you want to receive it by text or a voice call. Now click the 'Send Code' button.

Image courtesy of: Carter Dotson
Step 4

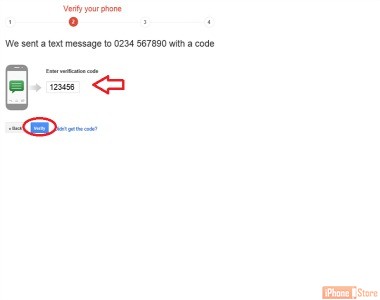
Now enter the code you received on your phone on the next page and click the verify button.
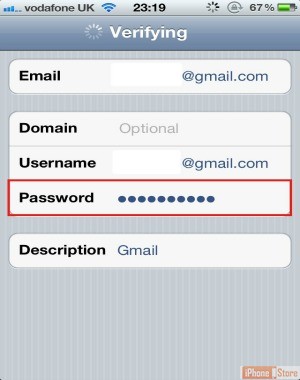
Image courtesy of: MSOutlook
Step 5
Now choose whether you want to trust the computer you are using to setup the 2 step verification and click next.
Image courtesy of: Aditi Patel
Step 6
Read the information on the next page and click the Confirm button.
Image courtesy of: MybusinessOS
Step 7
Now you have setup 2 step verification on Google. Google will log you out and take you back to the login page. To set up your iOS device to require the 2 step verification you will need to log back into your Google account.
Image courtesy of: Google
Step 8
Okay now that you have finished setting up 2 step verification in Google the iOS devices will require you to set up separate passwords for each device you want to have the 2 step verification on. After you have logged back into google it should take you to a page that lets you know it is activated. On this page you can set up a backup phone number, which is recommended if you have that ability. Next click on the Manage Application-Specific Passwords link on the lower right hand side of the page.
Image courtesy of: Alex Dobie
Step 9
Next you will generate a password for each device you want to activate. Decide on a name that is very specific to the device you are setting up, IE: Michelle’s iPhone or Brian’s iPad, and once you are happy with the name click the Generate Password button.
Image courtesy of: Paula DuPont
Step 10
On the next page you will see that Google generates a password, immediately enter this password into the devices mail settings. When you are done with the password you can click Done. I will show you how to enter it into the mail settings in the steps below. Note you will have to repeat steps 9 and 10 for each device you want to activate.
Image courtesy of: Carter Dotson
Step 11
Now open the 'Settings' menu on the device you are activating.
Image courtesy of: webcentral.com
Step 12
Next click on 'Mail, Contacts, Calendars' option in the Settings menu.


Image courtesy of: Appstoreapps
Step 13
Finally under the Accounts section select your Gmail account and enter the new password. Remember not to enter spaces. Again remember to repeat these steps on all your iOS devices.
Image courtesy of: Victor H.
Image courtesy of: Killian Bell
Step 14
That’s it, you are all set up. It may take a little bit to set up on each device but once it is done you are a lot closer to having a safer account that is less likely to get hacked.
Image courtesy of: Bilal Sarwari
  • 1 of 1