


Transfer screenshots to Mac using Image Capture
Overview
If you want to be able to edit and use the screenshots and photos on your iPhone more easily just check out this quick how to. You will be able to import your photos quickly and easily without the trouble of emailing them to yourself simply by using an app that your Mac PC should come with.. Enjoy!
Step 1
First you will need to connect your iPhone to your Mac PC using the correct USB cables.

Step 2
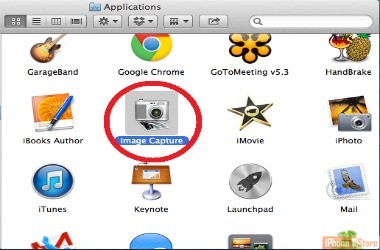
Image capture should launch automatically but if it doesn’t just click on the Image Capture app from your Applications Folder.
Step 3
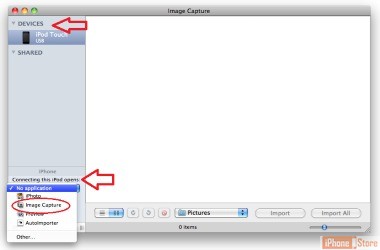
If you prefer this method you can set it as your default by opening Image Capture from the Applications folder, if you have not already done so, select the device you want to edit settings for and select Image Capture in the drop down menu next to the Connecting this device opens option.
Image courtesy of: Udemy
Step 4
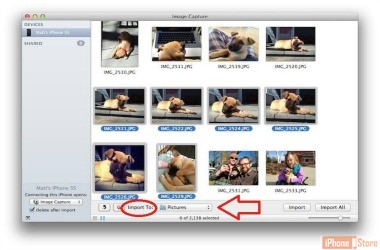
Now choose which folder you want the screenshots and/or photos to appear in by clicking the dropdown option next to Import To and making your selection.
Image courtesy of: Matt Elliott
Step 5
Now you have the fun of choosing what screenshots and or photos you want to import. Do this by either clicking the Import All button or if you want to choose individual photos simply hold Command and click to select the group of photos you want to import, then click the Import button once you are ready.
Image courtesy of: Matt Elliott

Step 6
All done! Now the photos you imported will appear in the folder you chose and you can get on with your life much more quickly by using the Image Capture app.
Image courtesy of: iTimeLapse

Article Sources
Enjoy this video to explore further
Download This Board Now