iPhone 5s Home Button Replacement
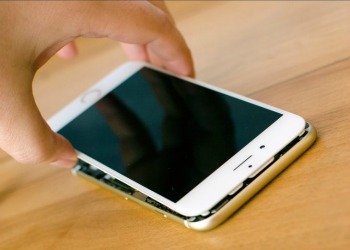
Step 13 - Replace the display assembly
- Reconnect the three cables shown in the image below, starting with the cable to the far left, which sits underneath the other two. (step 7 picture)
- Replace the display shield using the four screws and your Phillips screwdriver. (step 6 picture)
- Re-connect the Touch ID cable to the logic board. The easiest tool to help you do this is the pointed end of the spudger tool.(step 5 picture)
- Replace the Touch ID shield that sits over the cable.(step 4 picture)
- Carefully line up the top of the display into the top of the frame.
- Snap down the display until it clicks into place.
- If the display doesn't want to go back down, do NOT force it. Instead, be sure that the top is lined up correctly and that you aren't snagging any cables. There should be no resistance when snapping it back into place. If there is, you aren't lining it up correctly.
Image courtesy of: imore


