Overview

When using their Apple ID most people have saved private information and credit cards connected to that ID. If you would like more protection than just simply your password you can set up a 2 step verification. You will need a trusted device like your phone so that they can send you a code when you attempt to log in using your Apple ID. Follow these steps to set this up on your account.


Step 1

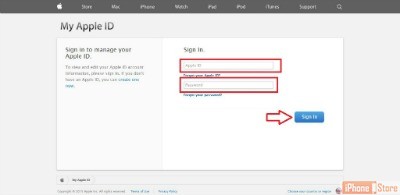
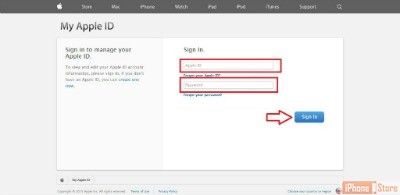
First go to appleid.apple.com and sign in to your account using your current password.

Image courtesy of: [webcentral.com]
Step 2

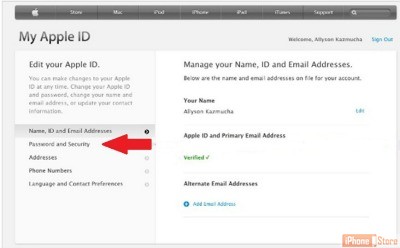
Next click on Password and Security on the left hand side of the page.

Image courtesy of: [webcentral.com]


Step 3
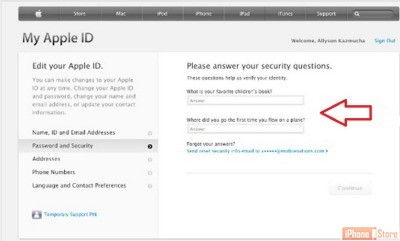
Answer the Secret Questions you have set up and then click Continue. 
Image courtesy of: [webcentral.com]
Step 4
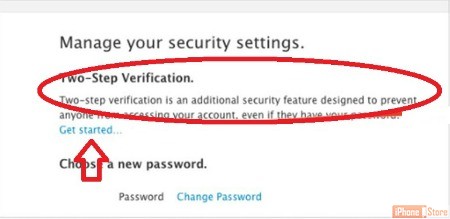
Under the 2 step Verification section click on the Get Started link.
Image courtesy of: [webcentral.com]
Step 5
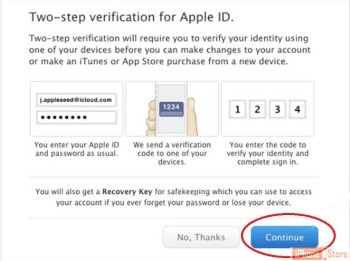
Next click Continue on the next screen. Note: You will need to have a device connected with your Apple ID to continue with this process.
Image courtesy of: Allyson Kazmucha
Step 6
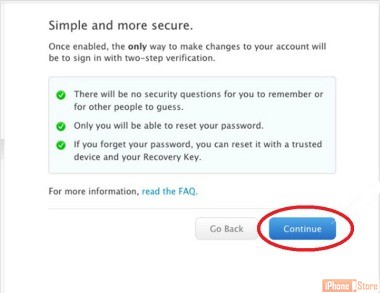
The next two screens will have some information regarding the 2 Step Verification process that you will need to read through. After you read the first screen click Continue and when you are done reading the second screen and feel comfortable click the Get Started button.
Image courtesy of: [webcentral.com]

Image courtesy of: [webcentral.com]

Step 7
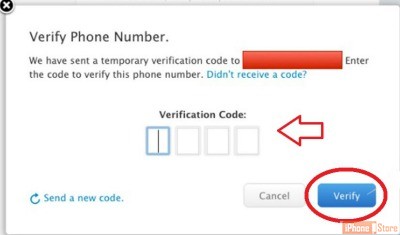
Next you will add a current phone number so that text notifications can be sent to you for verification. Then check your phone for a text message and enter the 4-digit verification code that was sent to you.
Image courtesy of: [webcentral.com]
Step 8
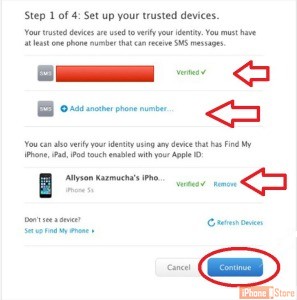
After you verify your phone number a list of all your connected devices will show on the next screen. You can choose to verify whichever devices you trust by clicking on the Verify link next to the devices you want to use for the 2 Step Verification process going forward. Once you are done verifying your chosen devices simply click Continue.
Image courtesy of: [webcentral.com]
Step 9
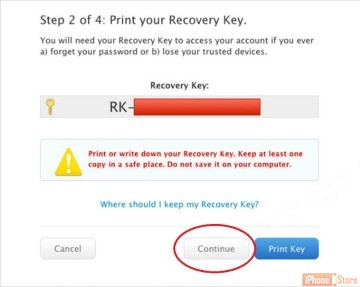
On the next page you will receive a Recovery Key that you will need to print or write down for safe keeping. Then click Continue.

 Images courtesy of: Allyson Kazmucha

Step 10
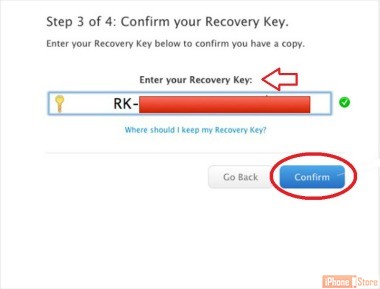
On the next screen you will need to verify you know the code by typing it into the space given and then click Confirm to continue.
Image courtesy of: [webcentral.com]
Step 11

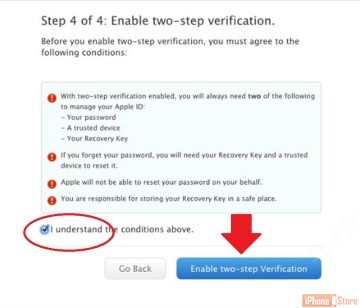
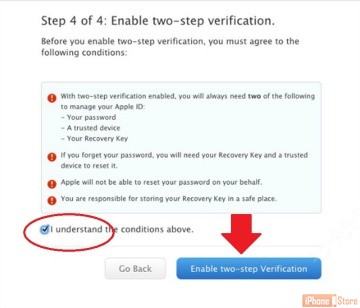
Almost done! On the next screen click the Checkbox to show you understand what information will be needed for the 2 Step Verification process if you forget your password in the future. Now click the Enable Two-Step Verification button to continue.


Image courtesy of: [webcentral.com]
Step 12
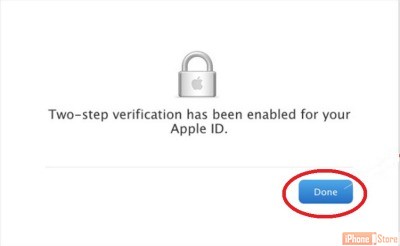
Next they will confirm that you have completed the process, simply click the Done button to finish up.

Image courtesy of: [webcentral.com]

Step 13
You are all done! Just remember that in order to access your account you will need your Apple ID password and a trusted device. Also keep your recovery key somewhere safe just in case you forget your password or lose your device in the future. This will keep you from needing to set up a new Apple ID in the future.
Image courtesy of: Mindbay
Enjoy this video to explore further
Article Sources

For more information click the links below:
1. http://support.apple.com/en-us/HT204152
2. http://support.apple.com/kb/PH14668?viewlocale=en_US
3. http://www.dailymail.co.uk/sciencetech/article-2759293/Apple-beefs-iCloud-s-security-Two-step-verification-adds-extra-layer-security-phone-ups.html

References
http://www.imore.com/how-enable-two-step-verification-your-apple-icloud-account
  • 1 of 1